

How to Use a Standing Easel: Setup, Height and Angle in 6 Steps
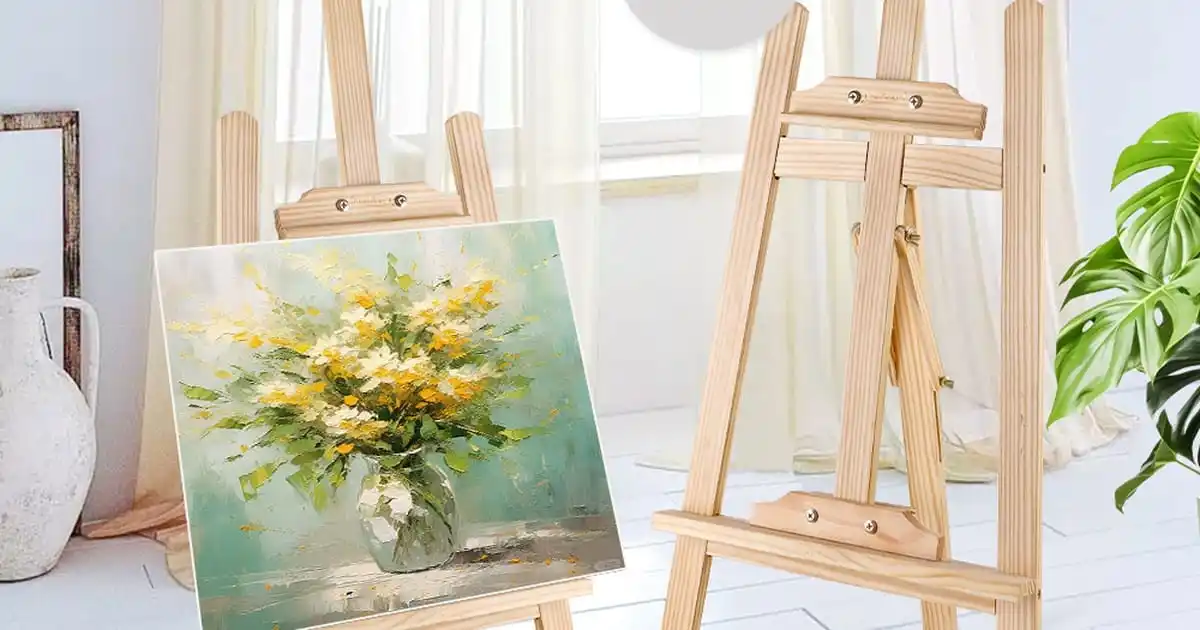
A standing easel is the simplest piece of equipment in a studio and the one most often set up badly. Six adjustments decide whether a session feels effortless or leaves your shoulder aching after an hour: frame, working height, angle, canvas position, stability and light. None of them takes more than a minute, and all of them are reversible.
Here is the sequence, in the order that avoids doing any of it twice.
Step 1 — Square the frame and tighten the hardware
Unfold the easel and check that the legs sit flat and the frame is square, not twisted. A twisted frame means the canvas will sit out of plane, and no amount of adjustment further down the list will fix it.
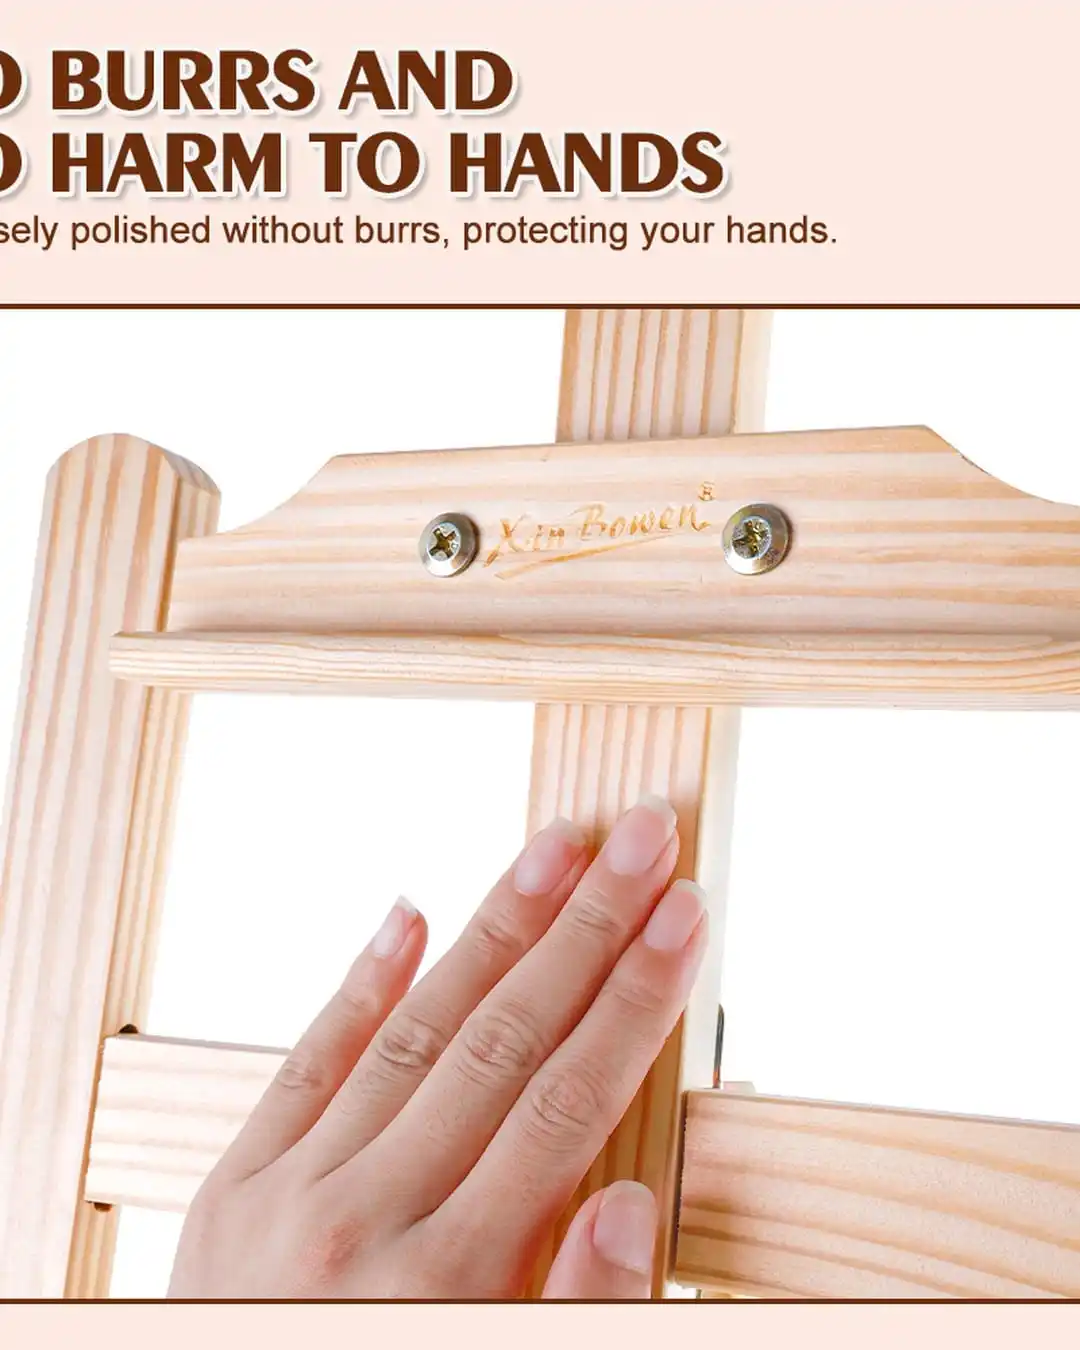
Then tighten every wing nut and knob by hand. Loose hardware is the reason most easels wobble, and it is also the reason a canvas slowly creeps downward during a long session. If your easel has a bottom ledge or tray, check that it locks at both ends, not just one.
Step 2 — Set the working height to your eye, not to the floor
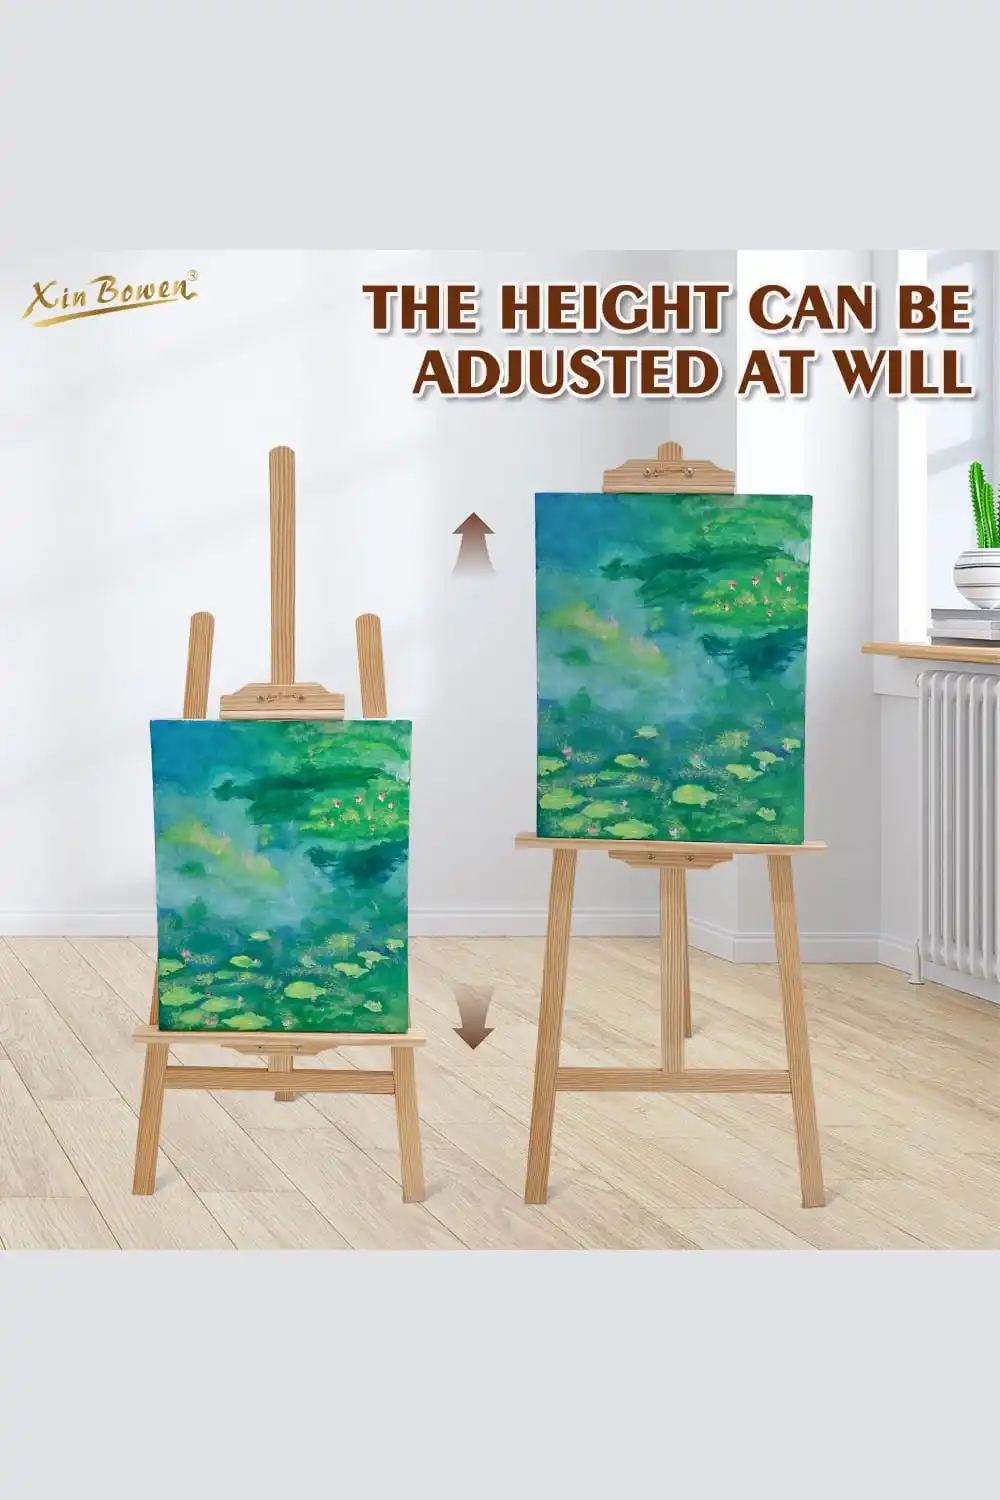
Stand (or sit) in your normal painting position and slide the canvas holder so the top third of the canvas sits at eye level. That gives you a full view of the whole composition without moving your head much, and it keeps the lower half within easy reach of a brush.
Two common errors here. The first is setting height with the easel empty and then adding a canvas that is 20 cm taller — set the height with the canvas already on the easel. The second is setting it for the tallest person in the studio; the easel should serve whoever is painting today.
Step 3 — Choose the angle deliberately
Most standing easels tilt between roughly vertical and about 30 degrees. The right angle depends on what is on the canvas:
- Dry media — graphite, charcoal, pastel, coloured pencil. Tilt the surface toward you, around 20–30 degrees from vertical. Dust falls clear of the work instead of settling on it, and your hand rests more naturally.
- Watercolour. Around 10–20 degrees. Enough tilt for washes to run down and pool where you want them, not so much that they flood the paper’s bottom edge.
- Acrylic and oil. Near vertical, or a very slight tilt. Paint is viscous enough to stay where it is put, and a flatter surface reduces glare from overhead light hitting a wet film.
Set the angle before you load the canvas, and then re-check it. Changing the angle with a heavy canvas already in place is how easels get dropped.
Step 4 — Seat the canvas on the tray correctly
The bottom ledge carries the weight, and the top clamp only holds. Two things follow from that:
- Seat the canvas fully into the tray so the full length of the ledge takes the load. A canvas resting on the edge of the tray will bow the stretcher bar over time.
- Centre it left to right, then tighten the top clamp just enough to stop lateral movement. Over-tightening a clamp on a stretched canvas will distort the frame, and the distortion shows up in the painting as a curve you cannot unsee.
For panels and boards, the same rules apply, but check that the tray is deep enough — a thin panel can slide forward on a shallow ledge. Small panels are often better on a table easel than on a large standing frame.
Step 5 — Kill the wobble before it costs you a stroke
A standing easel moves for three reasons: loose hardware, uneven legs, and a mast that is too short for the canvas. Work through them in that order.
- Re-tighten the knobs (Step 1).
- If the floor is uneven, shim the short leg — most studio easels have adjustable feet for exactly this.
- If the mast is too short, the canvas is beyond the easel’s working range. Using an easel past its size range is the most common cause of a canvas tipping forward mid-session.
Test it honestly: press the top of the frame the way a brush hand would, and watch whether the canvas moves relative to the mast. If it does, stop and fix it now.
Step 6 — Place your light and yourself
Light first. The classic studio answer is a window to your side — left if you are right-handed, right if you are left-handed — so your own hand does not cast a shadow across the working area. Avoid a lamp directly in front of the canvas at eye height: it puts glare exactly where you are trying to read colour.
Then position your body: stand roughly an arm’s length from the surface, with the easel about a hand’s width in front of your feet. Stepping back regularly matters more than any single setup choice — you cannot judge a composition from 30 cm away.
What you should not do
- Do not carry an easel by the top clamp or the canvas. Fold it and lift it by the frame.
- Do not store a loaded easel upright in a damp room. Damp air moves wood, and a wood frame that has moved will not sit square again without re-tightening everything.
- Do not leave a wet canvas clamped tight for days. Back the clamp off slightly once the session ends.
The five-minute checklist
Frame square · hardware hand-tight · working height set with the canvas on · angle matched to the medium · canvas fully seated in the tray · tray clamps snug not crushed · wobble tested · light to your side · you an arm’s length away.
That is the whole setup. It takes five minutes the first time and about ninety seconds once it is a habit — and it is the difference between an easel you forget about and one you fight all session.
Request a quotation. If you are buying easels by the range rather than by the piece, tell us the sizes and the market you sell into. You will get the MOQ for each item and the lead time — whether or not you order. We do not publish prices; the specification decides the number.
Samuel Zhao · Sales Director Phone / WhatsApp: +86 153-3692-1170 Email: pm@tengyuanbrush.com Shop: No. H1-21425-21424, 1st Floor, 1st Street, Gate 53, Third District, International Trade City, Yiwu, Zhejiang, China → Contact us for a quotation