
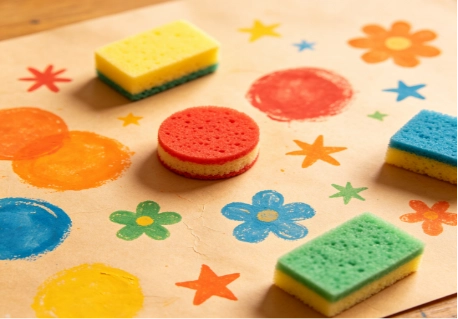
A flat painting might display nice colors. However, it often lacks a lively feel. Texture adds real movement to the canvas. Furthermore, depth helps a basic subject appear layered. It makes the work look natural and complete. Because of this, numerous artists and teachers focus on sponge brush paint methods. Craft buyers also pay close attention to these handy techniques.
A sponge brush serves as more than a basic craft tool. When handled properly, it shapes clouds, stones, and leaves. It can also form aged walls, fabric styles, and soft backgrounds. You can even make bold abstract marks with it. Moreover, this tool pairs nicely with acrylic medium. It suits mixed media surfaces and regular paint brushes perfectly. Novices find it quite simple to pick up. At the same time, experienced painters use it to unlock many expressive effects.
Here at Xin Bowen, we supply art materials. We cater to students, hobby painters, and studios. Schools and wholesale buyers also rely on us. Our main items include paint brushes, acrylic paints, and painting tools. We also offer sketching sets and art accessories. These supplies help users put together practical kits. Consequently, they can meet various daily painting needs.
Why Sponge Brush Paint Creates Strong Visual Texture
Sponge brush paint succeeds because the sponge avoids leaving a single flat stroke. Instead, it splits the color into tiny marks. These small marks vary greatly. They can appear soft, rough, or dotted. They might also look dry or heavy. The result depends entirely on your hand pressure and the paint thickness. Therefore, this tool proves highly useful. It helps artists achieve a surface that feels organic rather than mechanical.
Texture Comes from Pressure, Paint Load, and Surface
The primary skill involves knowing the right amount of paint to load. A wet sponge produces wide and soft marks. On the other hand, a mostly dry sponge forms a broken texture. Applying firm pressure yields bold color patches. Meanwhile, a gentle tapping motion generates tiny speckles.
Try this basic test:
- Load the sponge brush with a thin layer of acrylic paint.
- Tap it once on scrap paper.
- Press lightly on the final surface.
- Repeat with more pressure.
- Compare the edge, density, and color strength.
You will see that one sponge brush can produce many results. This is why sponge brush paint is popular for texture painting, craft art, classroom projects, and mixed media work.
Depth Builds Through Layers, Not One Thick Coat
Many beginners try to create texture with too much paint at once. The result often looks muddy. A better method is to build depth in layers.
Start with a light background. Add mid-tone sponge marks. Let the layer dry. Then add darker marks in selected areas. Finish with small highlights. This simple order creates space and form.
For example, when painting stone, use a gray base first. Add darker gray with a sponge brush around the edges. Then tap in small white or beige highlights. The eye reads the surface as rough stone because the marks are uneven.
This method also works for clouds, trees, old walls, fabric patterns, and abstract backgrounds.
Choose the Right Tools for Sponge Brush Paint
A sponge brush is useful, but it should not replace every tool on your table. The best results often come from combining it with paint brushes, a palette knife, paper, canvas, and acrylic medium. This is especially true for artists who want more control, or for buyers planning complete equipment for art classes and retail kits.
Sponge Brush, Flat Brush, and Round Brush
Each tool has a different job. A sponge brush creates broken texture. A flat brush covers wide areas and makes clean edges. A round brush adds detail, small lines, and final accents.
Use them together like this:
- Sponge brush: clouds, stone, foliage, background texture
- Flat brush: base coats, bold shapes, clean borders
- Round brush: small details, lines, highlights
- Fan brush: grass, hair, soft blending
- Liner brush: thin marks and long lines
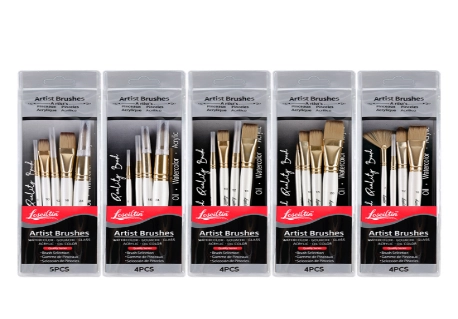
Xin Bowen’s artist paint brush category includes watercolor brushes, master art brushes, fine paintbrushes, detail brushes, liner brushes, and gesso brushes. This gives artists and buyers a wider tool choice beyond sponge brush paint alone.
Acrylic Medium and Sponge Brush Control
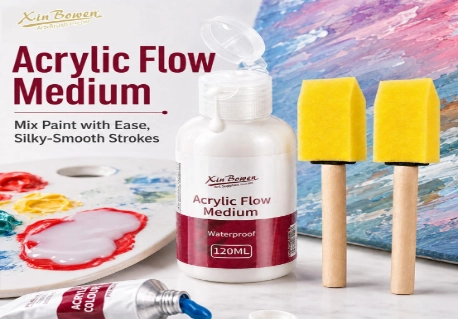
Acrylic medium changes how paint moves. Flow medium can make acrylic paint smoother and easier to spread. Gloss or matte medium can adjust finish and transparency. If the paint feels too thick, the sponge may drag. If it is too thin, the marks may lose shape.
A practical ratio for testing is simple: add a small amount of acrylic medium, mix well, then test the sponge mark before painting the final surface. Do not flood the sponge. A controlled surface gives better texture.
For pouring, glazing, and sponge effects, Xin Bowen offers acrylic-related products such as flow medium and medium sets with sponge brushes in the acrylic product category. These are suitable for buyers who want paint and tool combinations for craft painting, acrylic texture painting, and mixed media practice.
Palette Knife for Stronger Texture
A palette knife creates texture in a different way. It spreads, scrapes, lifts, and pushes paint. When used with sponge brush paint, it can add structure before or after the sponge layer.
Try this sequence:
- Spread acrylic paint with a palette knife.
- Let some ridges remain visible.
- Tap over the raised area with a sponge brush.
- Add a second color lightly on the highest ridges.
The result is stronger than sponge texture alone. This method is useful for abstract paintings, ocean foam, mountain rock, bark, and rough background effects.
Sponge Brush Paint Techniques for Common Subjects
Once the tools are ready, the next step is practice. Sponge brush paint works best when the artist controls repetition. Too many marks in the same size can look flat. A mix of light, medium, and strong marks feels more natural. Change direction often, and leave some quiet areas so the texture can breathe.
Clouds and Mist
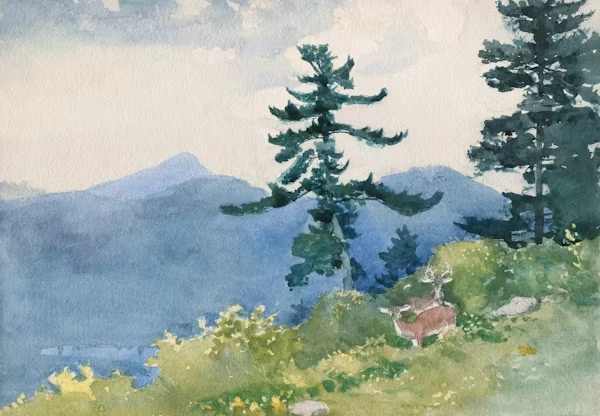
For clouds, use a dry sponge brush and very little paint. Tap lightly in rounded shapes. Keep the lower edge softer than the top edge. Add a small amount of gray or blue under the white to create shadow.
Do not overwork the cloud. If every edge becomes sharp, it loses the soft feeling. A clean flat brush can soften the lower edge while the paint is still wet.
Stone, Concrete, and Old Walls
Stone texture needs uneven color. Start with a mid-tone base. Add dark sponge marks in corners and cracks. Then add lighter marks on raised areas.
Use a palette knife to scrape a few hard lines after the sponge layer dries. This adds the feeling of cracks or rough masonry. For old walls, add beige, gray, brown, or muted green in small layers.
This technique is useful for students, set designers, model painters, craft artists, and anyone building realistic backgrounds.
Leaves, Grass, and Natural Surfaces
For leaves, do not use only one green. Mix yellow-green, deep green, and a small amount of brown. Tap the sponge brush in clusters. Keep the marks smaller near the distance and larger near the front.
A liner brush can add branches after the sponge work dries. A fan brush can add loose grass. This mix of tools creates depth because each layer has a different mark.
For botanical work, sponge marks can also support a 2026 pencil sketch before color is added. A soft pencil layout helps place the main form, while sponge brush paint adds movement and surface life.
Common Mistakes and How to Avoid Them
Even simple tools need control. Sponge brush paint can look messy when the artist uses too much water, presses too hard, or repeats the same mark across the whole surface. These mistakes are easy to fix with slower layering and better tool care.
Too Much Paint on the Sponge
If paint sits thick on the sponge, the mark becomes heavy and flat. Dab the sponge on scrap paper first. This removes extra paint and gives a cleaner texture.
A good rule: the first mark is often too strong. The second or third mark is usually better for natural texture.
Colors Becoming Muddy
Muddy color happens when wet layers mix too much. Let each layer dry before adding the next. Choose a limited color group. For stone, use gray, beige, brown, and white. For leaves, use two greens, yellow, and a little brown.
Acrylic dries quickly, so patience is easier than with some other media. Still, give the surface enough time before adding new sponge marks.
Using Sponge Brush Paint for Every Detail
A sponge brush is not ideal for fine lines, eyes, lettering, or sharp outlines. Use paint brushes for these parts. A round brush or liner brush will give cleaner results.
At Xin Bowen, we also develop brush sets with nylon bristles, synthetic squirrel hair, birch wood handles, and multiple shapes for broad strokes, fine details, blending, and line work. Our 25-piece brush set includes round, flat, angular, filbert, liner, detail, fan, and palette knife tools, making it suitable for studio, classroom, or travel use.
Buying and Kit Planning for Artists, Teachers, and Retailers
Sponge brush paint is not only a technique topic. It is also useful for product planning. Teachers need safe, easy tools for groups. Retailers need clear product combinations. Studios need durable tools that can handle repeated acrylic use. Good procurement tips for artists should connect technique, surface, paint type, and packaging.
Procurement Tips for Artists and Bulk Buyers
When choosing sponge brushes or related tools, consider:
- Sponge density: softer sponge gives gentle texture; firmer sponge gives stronger marks.
- Handle comfort: short handles suit children; longer handles suit studio use.
- Paint type: acrylic works well for fast layers and bold texture.
- Surface: canvas, acrylic paper, and mixed media paper handle sponge effects better.
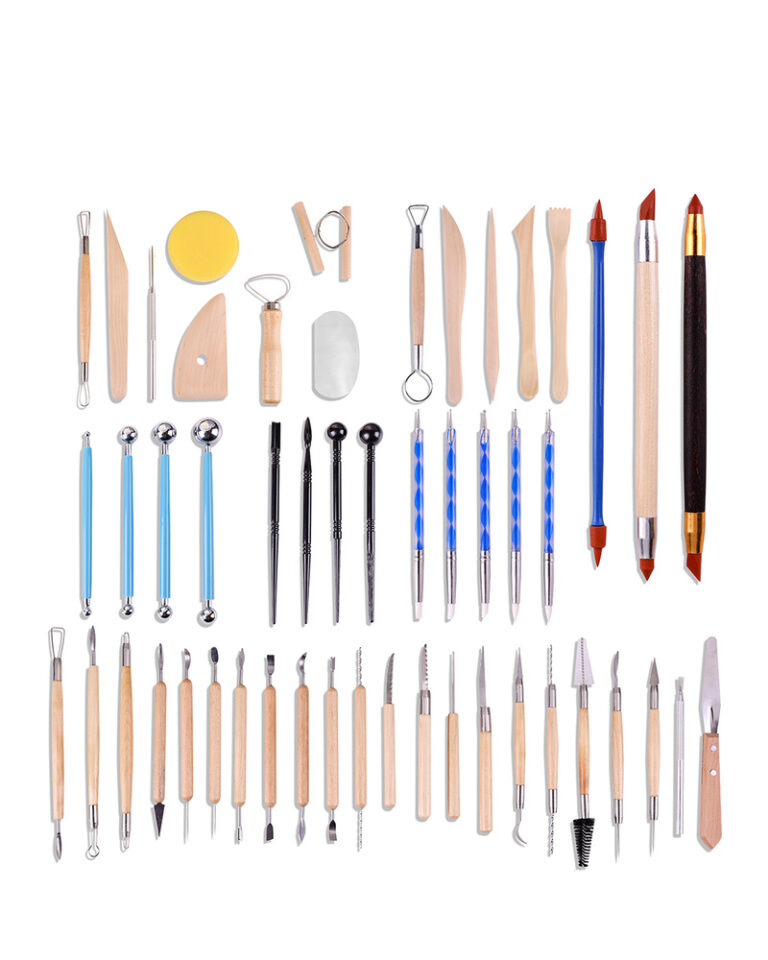
- Tool mix: include paint brushes, sponge brush pieces, palette knife, and paper.
- Packaging: classroom packs and retail display packs serve different buyers.
If your customers need more than one product type, Xin Bowen’s products page gives a broad view of paint brushes, paints, painting knives, palettes, sketching tools, canvas, drawing paper, and children’s art supplies. This makes it easier to build kits for different market levels.
Sketching Equipment for Artists in Texture Work
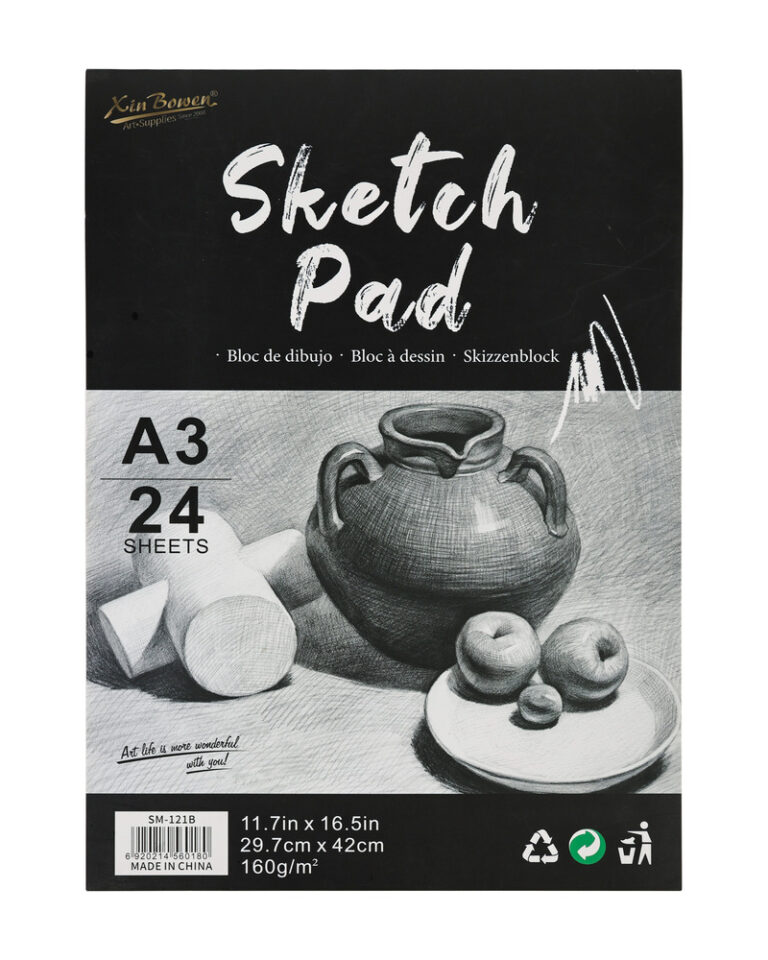
Texture painting often begins with drawing. Sketching equipment for artists, such as graphite pencils, charcoal, erasers, sketch paper, and sharpeners, helps plan shape before paint is added. A simple pencil drawing can guide sponge placement, especially for rocks, trees, animals, and architectural surfaces.
This is also useful in classes. Students can sketch first, block in color, then add sponge brush paint for depth. The process teaches planning, color control, and surface awareness.
For custom needs, Xin Bowen’s one-stop service supports personalized painting material sets, design support, production, quality inspection, packaging, and shipment. We can help customers match equipment for art with real user needs, from beginners to professional art-supply buyers.
Conclusion
Sponge brush paint is a simple method with strong creative value. It helps artists create texture, depth, soft backgrounds, rough surfaces, and natural effects without complex tools. The key is control: use less paint, build layers slowly, test pressure, and combine the sponge brush with round brushes, flat brushes, liner brushes, acrylic medium, and a palette knife. For students, it makes painting easier to explore. For teachers and retailers, it supports practical product kits with clear uses. For artists, it adds surface energy and visual interest. With the right tools and steady practice, sponge brush paint can turn a plain artwork into a layered, expressive piece.
FAQs
Q: What paint works best for sponge brush paint?
A: Acrylic paint works best because it dries fast and builds clear texture.
Q: How much acrylic medium should I mix?
A: Start with 5–10ml medium, then test the texture before painting.
Q: Can sponge brush paint work with 120ml acrylic medium?
A: Yes, 120ml is suitable for practice, classroom use, and small mixed media projects.