

An artist might have great colors. Yet, they can still get flat and patchy results. Often, the paint itself is not the main issue. The brush might be too full. It might be held at a bad angle. Sometimes, it moves without a clear aim. Even pro paint brushes fail to make bold marks if the user lacks practice. The artist must learn how the bristles, hand pressure, and paint thickness interact.
Proper brush skills belong everywhere, not just in fancy studios. Newcomers can pick them up quickly. They just need brief, targeted practice. Veteran artists can use these same drills. This helps them fix bad habits that happen without thinking. The main goal is quite simple. You want to gain solid paint control. This makes every stroke intentional. At the same time, the final artwork will not look rigid.
This manual looks into several key topics. We will cover brush loading, hand pressure, and edge control. We also discuss textures and tool care. These tips apply to watercolor, acrylic, and oil mediums.
Build Control Before Chasing Detail
Lots of painters start a canvas by focusing on tiny items. They look at crisp borders or fancy details. That method frequently creates a broken, messy image. A solid painting normally begins with bigger shapes. It also relies on distinct light and dark areas. Pro paint brushes assist with this early stage. However, the artist must pick the right size. They also need to use the entire brush head.
Load the Brush With the Right Amount of Paint
A brush with hardly any paint leaves dry, weak lines. A tool with too much paint causes problems. It might drip or ruin a clean edge. It can also leave a heavy bump of color. You should prepare before touching the canvas. Spin the brush softly in your mixed color. This action covers the hairs evenly. It works much better than just pushing one side into the wet paint.
You might be working with watery paint. If so, tap the brush gently on the palette edge. This step takes off extra fluid. Thicker paint requires a different approach. You should mold the loaded tip right on the palette. Try not to scrape off the color over and over.
Look for these signals to check your paint load:
- The brush carries color but does not drip.
- The bristles keep their shape. They do not split into a messy bunch.
- The color flows out evenly during the whole stroke.
- Your first touch on the paper avoids leaving a messy puddle.
- The tool still reacts well when you change your hand pressure.
You should practice long sweeps on scrap paper. Attempt to draw a single line very far. Do this without adding more paint. This basic drill teaches you something important. It shows the exact paint capacity of every brush.
Change Pressure During the Stroke
Hand pressure changes both the line width and the visual texture. A pointed round brush can start with a thin mark. The line gets wider as the middle part hits the paper. Then, it shrinks back to a sharp tip when you lift your hand. This specific motion is very handy. It works great for painting leaves and flower stems. You can also use it for hair, cloth wrinkles, and fancy writing styles.
Try not to squeeze the handle too hard. A stiff hand usually makes tiny, nervous lines. You should hold the stick further back to paint large areas. Slide your grip down near the metal ferrule for precise work. Good paint control needs teamwork. Your fingers, wrist, and arm must move together. Do not rely on finger strength alone.
Use Brush Shapes as Different Painting Tools
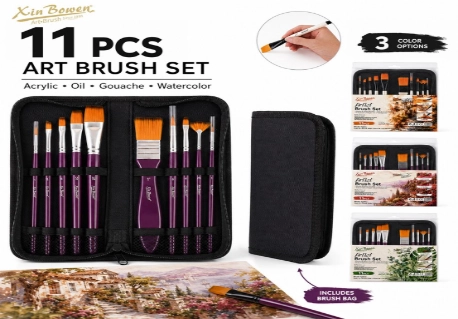
Each brush shape creates a different result. A balanced set helps you move from broad areas to soft blends and fine details with less effort.
Round and Liner Brushes
Round brushes hold paint well and have pointed tips for details. They suit curves, foliage, washes, outlines, and small areas. Good watercolor brushes should return to a point after each stroke.
Liners have long fibers for branches, grass, hair, cables, and lettering. Use fluid paint and pull the brush with a relaxed hand. They are also useful for adding lively details directly with paint in urban sketches.
Flat, Bright, and Filbert Brushes
Flat brushes create straight edges, wide strokes, and clean blocks of color. Turn them sideways to paint narrow lines.
Bright brushes have shorter, firmer fibers. They work well for short strokes and textured acrylic or oil painting.
Filberts have rounded edges that produce softer marks. Use them for clouds, petals, faces, animals, and smooth blending.
Develop Better Edges and Transitions
Edges guide the viewer’s attention. Hard edges suggest sharp light or nearby objects, while soft edges create depth, movement, and rounded forms. Using both gives a painting stronger structure.
Paint Hard and Soft Edges Deliberately
For a hard edge, apply fresh paint with a clean brush and avoid further movement. Flat brushes are helpful for straight sides.
For a soft edge, blend two wet areas only where they meet. Use a clean, slightly damp brush and wipe it between passes.
Lost edges form when nearby areas share similar colors or values. They can make subjects look more natural. Pro paint brushes with clean points can restore selected details later.
Create Smooth Gradients Without Overworking
Prepare enough color before blending, especially with fast-drying acrylic. Place the darker color first, add the second beside it, and blend the meeting area with light strokes.
Avoid repeated brushing, which can dull the surface. For watercolor, tilt the paper and guide the wet paint downward. For acrylic, work in small areas and clean the brush as colors change.
Explore Texture Through Proven Brush Techniques
Texture comes from the relationship between paint thickness, surface roughness, brush load, and movement. The same brush can create a smooth band, a broken mark, or a raised ridge. Once these variables are separated, texture becomes a controlled choice rather than a fortunate accident.
Dry Brushing and Scumbling
Dry brushing uses a small amount of paint on a brush with little moisture. Drag the side of the fibers lightly across a textured surface. Paint catches on the raised areas while the lower parts remain visible. This works well for stone, bark, weathered walls, hair, grass, and reflected light.
Scumbling is related but often uses a broader, softer movement. A thin, broken layer of lighter or opaque color is brushed over a dry darker layer. Let some of the lower color show through. The result can suggest mist, dust, worn surfaces, or atmospheric light.
Acrylic brushes with medium firmness are well suited to these methods. Avoid using a valued detail brush for aggressive dry work because repeated friction may damage its point.
Glazing and Layering
A glaze is a thin, transparent layer placed over dry paint. It can deepen a shadow, warm a surface, cool a distant area, or bring separate colors into harmony. Soft pro paint brushes reduce visible streaks during application.
Do not press hard. Spread the glaze with broad, even movements, then leave it alone. Repeated brushing may lift the lower layer or produce an uneven film. Test transparency on a separate surface before applying it to an important area.
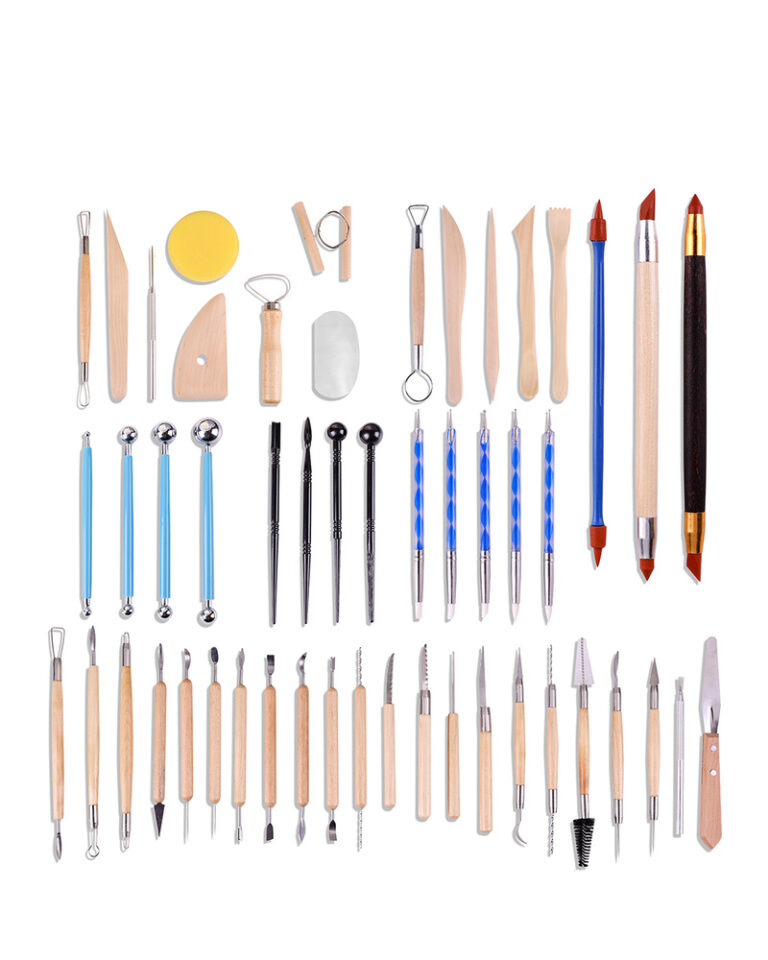
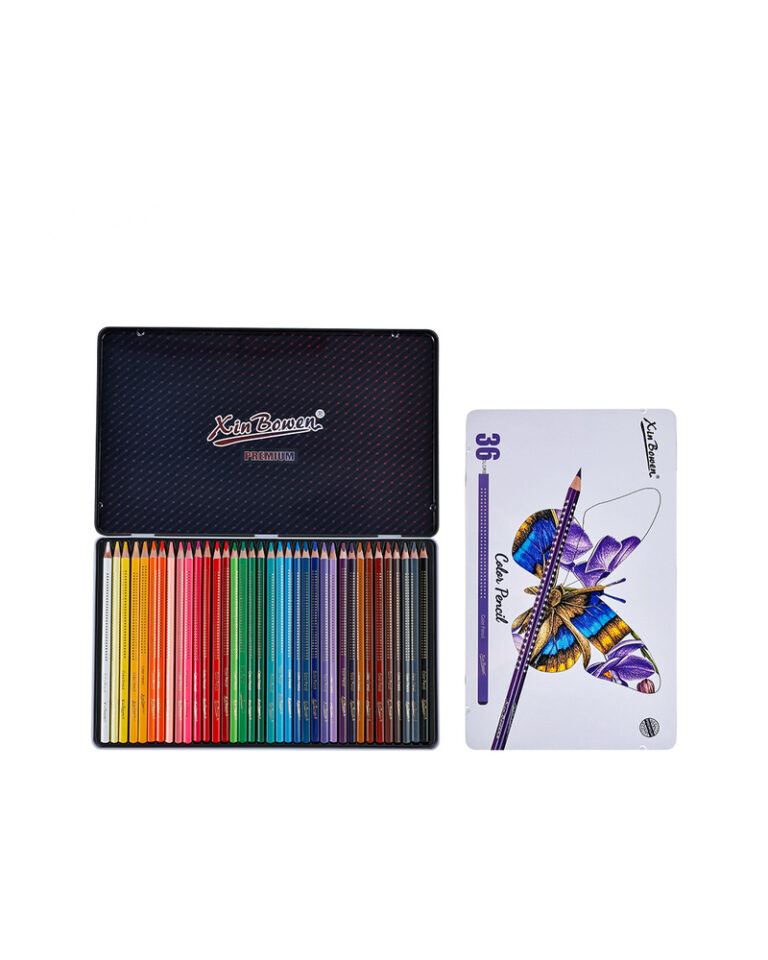
Artists interested in combining painting, drawing, pastel, and colored pencil can explore our artist painting tools sets. These combinations make it easier to test layering and mixed-media brush techniques without collecting every tool separately.
Match Your Technique to the Painting Medium
No single brush behaves the same way in every type of paint. Watercolor depends on liquid flow, acrylic changes quickly as it dries, and oil paint offers a longer working period. Knowing these differences helps you choose suitable pro paint brushes and prevents frustration caused by asking a brush to perform beyond its design.
Watercolor: Let the Brush Carry the Wash
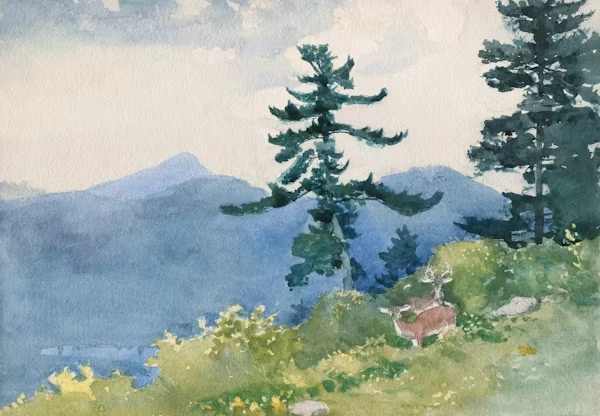
Watercolor brushes need enough capacity to keep a wash moving. Mix more color than you think you will need. Load the brush fully, begin at the top of the area, and guide the wet bead downward. Each new stroke should meet the previous one while it remains moist.
For urban sketches, a large round can place skies and shadows, while a smaller pointed round adds windows, signs, and figures. A liner can supply the final branches or railings. This compact group is easier to carry than a large case and supports the current interest in painting outdoors.
Acrylic: Work Cleanly and at the Right Speed
Acrylic paint can move from fluid to sticky within a short period. Prepare colors before beginning a blend. Keep a container of clean water nearby, but do not leave acrylic brushes standing on their tips.
Use flats for large areas, filberts for rounded forms, and firm brights for broken texture. Thin layers dry faster and allow early correction. Heavy layers hold visible strokes and suit expressive work.
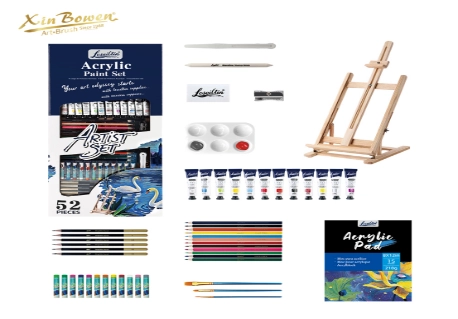
Our 52-piece acrylic paint set combines 12 × 12 ml acrylic tubes with brushes, drawing tools, pastels, paper, a palette, a palette knife, and a wooden tabletop easel. We designed the combination for beginners, students, mixed-media painters, and art-class use.
Oil: Use the Longer Working Time
Oil paint gives artists more time to blend, adjust, and soften. Begin with firm brushes for larger shapes. Move to softer oil brushes as the painting develops and delicate transitions become important.
Clean the brush between strongly different colors. Otherwise, repeated blending can turn clear mixtures into mud. Separate light and dark brushes can make the process quicker. A palette knife is also useful for mixing, allowing the brush to remain ready for painting rather than carrying poorly combined color.
Make Brush Care Part of the Technique
Brush care affects the next painting as much as the current one. Paint left near the ferrule can spread the fibers and weaken their movement. Bent tips, dried acrylic, and oil residue reduce control, even when the brush originally had a good point.
Follow a simple routine:
- Remove excess paint before washing.
- Use lukewarm rather than hot water.
- Work mild soap gently through the fibers.
- Rinse until no color remains.
- Reshape the tip with your fingers.
- Dry brushes flat or with tips upward.
- Store them only when fully dry.
At Xin Bowen, we develop and supply paint brushes, paints, drawing tools, paper, easels, and complete art sets. We use production and quality inspection teams to check materials and finished goods before delivery. Our product collection covers tools for individual artists, classrooms, retailers, and wholesale buyers. Through our one-stop service, we also support samples, packaging, OEM and ODM projects, production, inspection, and shipment.
Conclusion
Mastering pro paint brushes is less about owning many tools and more about knowing what each brush can do. Begin with correct loading, then practice changing pressure, direction, and handle angle. Use rounds for flexible marks, flats for structure, filberts for softer forms, and liners for long details. Adjust the technique to the medium: guide water in watercolor, work at a steady pace with acrylic, and use the longer blending time of oil paint. Pay close attention to edges because they shape depth and direct the viewer’s eye. Finally, clean and reshape every brush after use. These habits may appear small, yet together they build stronger paint control, clearer decisions, and more confident artwork.
FAQs
Q: How many pro paint brushes does a beginner need?
A: Five to seven useful brushes can cover broad painting, blending, detail, and line work.
Q: Can watercolor brushes be used with acrylic paint?
A: Yes, but heavy acrylic may damage soft fibers and reduce their ability to hold water.
Q: How often should pro paint brushes be cleaned?
A: Clean them after every session and before paint begins drying near the ferrule.